

While browsing thru the Pottery Barn fall catalog I fell in love with this brown and white animal print pillow.

I have always been drawn to animal print and like throwing in a few surprise pieces here and there like in the picture below.

(Pottery Barn Fall 2014 Catalog)
A little goes a long way with animal print,
so if you are thinking about adding splashes of it to your décor, I suggest starting with throw pillows.
I wanted these pillows and loved them so much that I decided to try and make my own.
So one day, while I was in Pier One looking for something for my dining room, I came across these brown and white animal print cloth napkins.
Then the light bulb went off.
I could use these napkins to make a knock off of the Pottery Barn pillow!
and lookie there.....they are on sale too!!! SCORE!

So I bought two napkins and began putting my pillow together the 'no-sew' way.
To do this, start by ironing out the creases so that the napkin is free of any wrinkles.

Now, see the hemmed edge with the white stiching?
This is your time saver.
The napkins already come with a finished edge, so all you are going to do is fuse all four sides together and stuff with Poly fill, or pillow insert....your choice.

I used Heat N Bond 'hem' because that is all I had on hand and it worked great with the cotton fabric of the napkins.

Just turn one napkin over so that the wrong side is facing you,


Then cut your Heat n Bond strip equal to the length of your first side.

Now, lay the second napkin over the first napkin, with the correct side facing you so that the two wrongs sides are touching.

Then iron along the side with the Heat n Bond strip to fuse the two napkins together.
Continue around the pillow, cutting the Heat n Bond to size and ironing the remaining two sides.
For the fourth, and last side, I followed the same process above but skipped a section in the middle that will be my opening to insert the stuffing.
DO NOT FORGET
to leave a hole in the last side so you can stuff your pillow!!!

Now you should have a tube similar to a pillow case that you will fill with stuffing or a pillow form.

I used the entire bag of Poly-Fil and just stuffed it inside my pillow "tube" so that it was full and bouncy.
I like my pillows full so I used the entire bag of filling for this one pillow but you could have gotten away with only using half if you really wanted to.
Now, here is the tricky part.
Cut a piece of Heat n Bond to fit the opening and with one hand push the Poly-Fil down and back to keep it out of the way of your seam where you will be ironing.
Then iron the remaining open seam to close up the last side of the pillow.

And that's it!
You now have a new, custom made, pillow!
Woot woot!

Here is my new pillow shown on my white slipcovered chair.

And here it is on my old red chair.


Here is a close up of one side along the seam.
As you can see the two pieces appear to be sewn together.
The hemmed edges of the napkins give an optical illusion that the pillow was sewed together, but only you know it was a no sew version!

I am so happy with the way my pillow turned out that I have decided to pick up two more napkins so I can make a second pillow.
I would like a set of two for my side chairs.
You may remember that last Fall I made a no-sew
Pottery Barn knock off fur pillow.
You can read about that HERE.
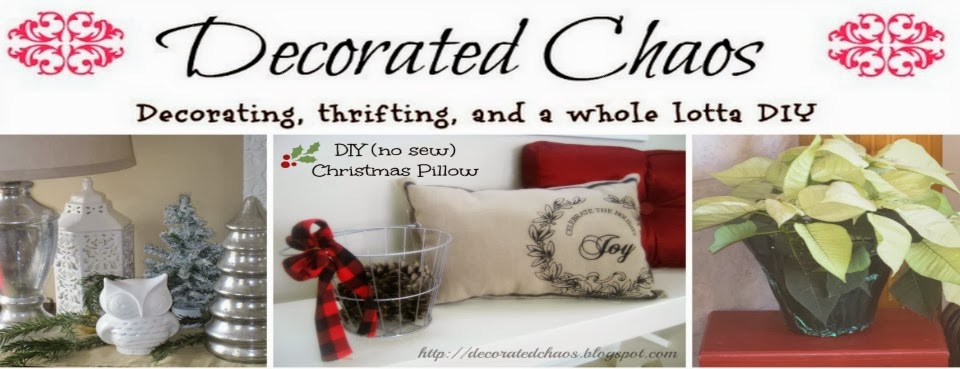
These no-sew pillows are so fun to make and would be great to give to your family as a Christmas gift too!
Have a wonderful day!
Jennifer
Linking Up to These Great Parties:


No comments:
Post a Comment
Your comments are greatly appreciated! I enjoy receiving your feedback.